Need training at your office? Request a quote for custom training.
Adobe FrameMaker 9: That Flippin’ Toolbox
by Barb Binder
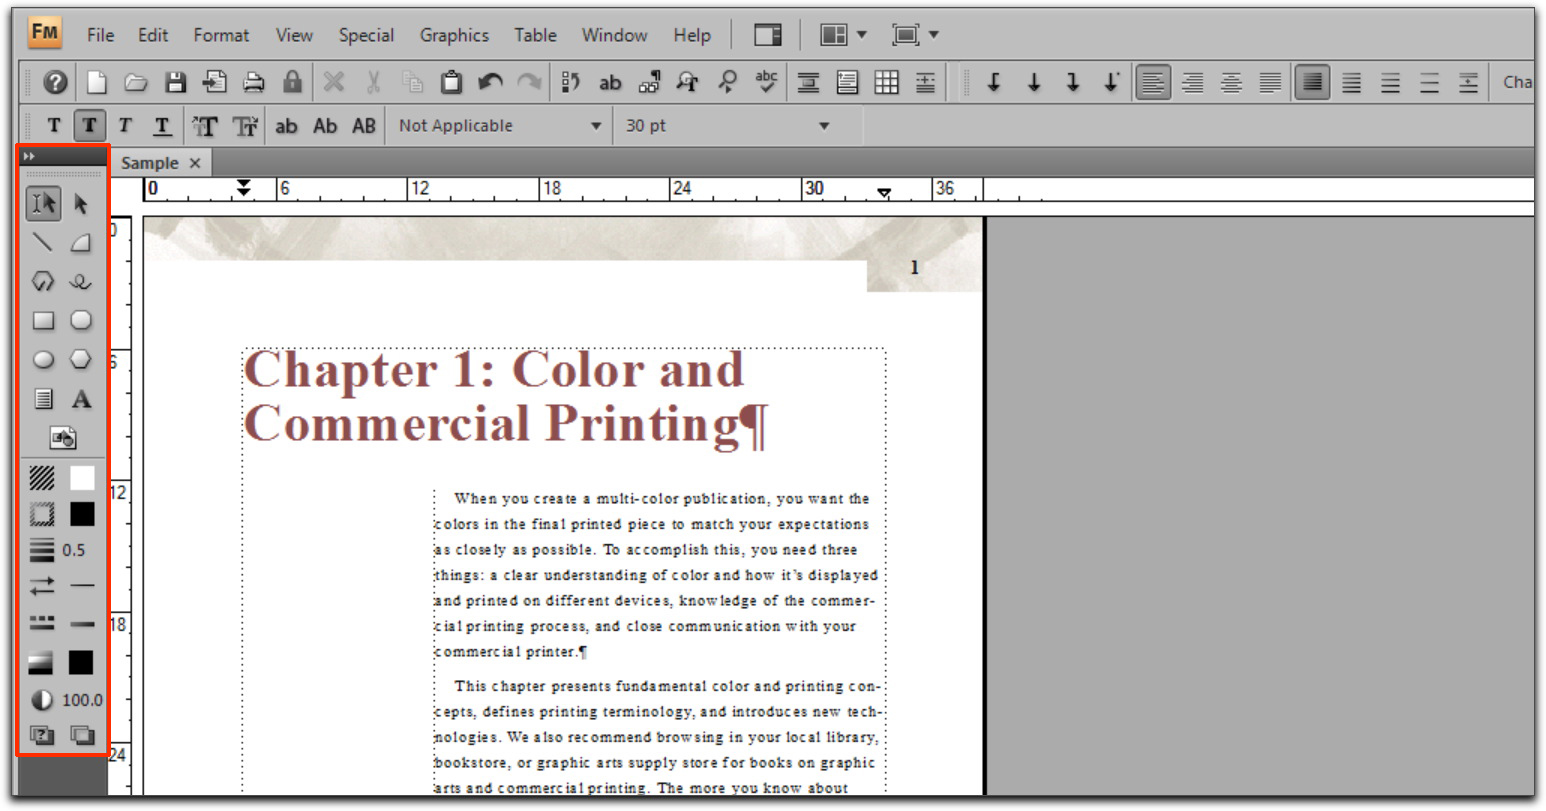
To access the toolbox, just choose Graphics > Tools. It will appear at its default position, docked to the left of the page

Getting rid of the toolbox is another matter. Resetting the workspace will do it, but if that’s too drastic an action (because it also resets the toolbars, pods and panels, and then you will need to undock the toolbox. Grab the top of the toolbox and drag it onto the page. Once it is undocked, you can simply click the X to close it.

Before you close the toolbox, take a minute to click the double white arrows to the left of the X. Did you know you can flip the toolbox to a horizontal position?

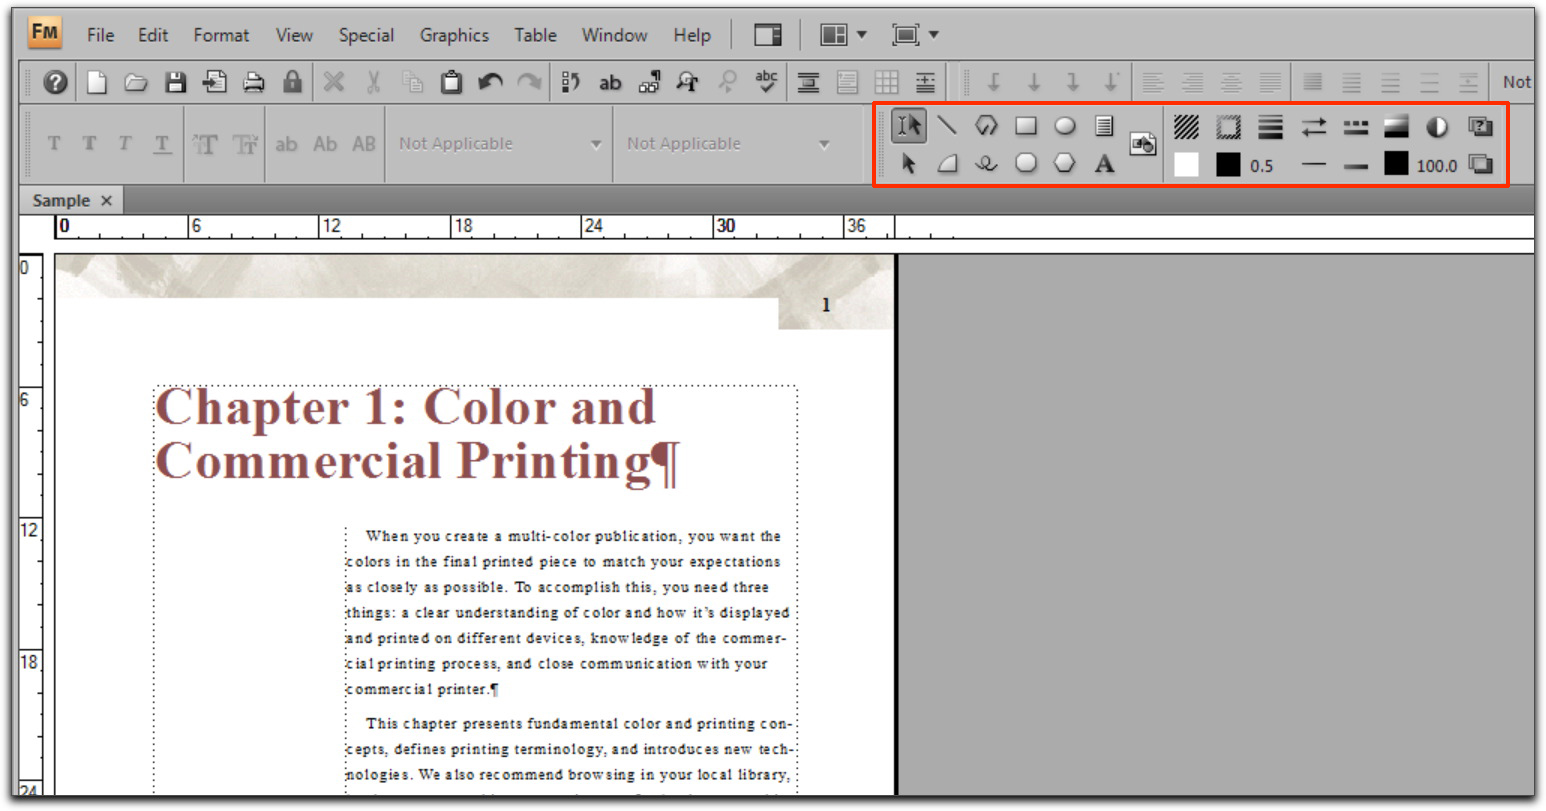
That’s cool. Plus, now that it is horizontal, it fits nicely into the toolbars. Just drag it up to dock it.

Truthfully, you don’t need to flip it to dock it in the toolbars. Simply drag the vertical version up to the toolbar and it will flip itself.
It’s good to know how to flip the toolbar though because if you ever get this far and you want to restore the floating vertical Toolbox, you won’t need me to tell you to drag it out of the dock and click the double white arrows (located below the X on the rotated toolbox) to restore the vertical orientation.