Need training at your office? Request a quote for custom training.
Adobe FrameMaker: Creating Custom Master Pages
by Barb Binder, Adobe Certified Instructor on FrameMaker
Updated: May 22, 2020
New FrameMaker documents have default master pages. Single-sided documents have one, called “Right”, and double side-documents have two, called “Left” and “Right”. We use these pages to place the objects we want to repeat on all the Body Pages, like our running heads, page numbers and repeating graphics.
But what do you do when you need a different look for a body page? For example, you’d like to turn off the page number on the opening page of each chapter? You set up a custom master page. Here’s how:
- View > Master Pages
- Insert > Add Master Page. (Prior to FrameMaker 2017, this was Special > Add Master Page.)
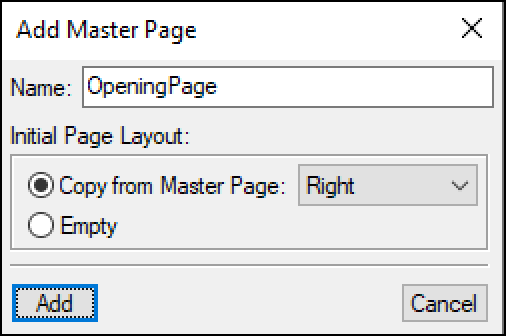
- Pick which master you’d like to base the new one on, and give it a logical name.

- Make any changes that you like to the new master (i.e., remove the page number for the opening page), and return to the Body page 1 with View > Body Pages.
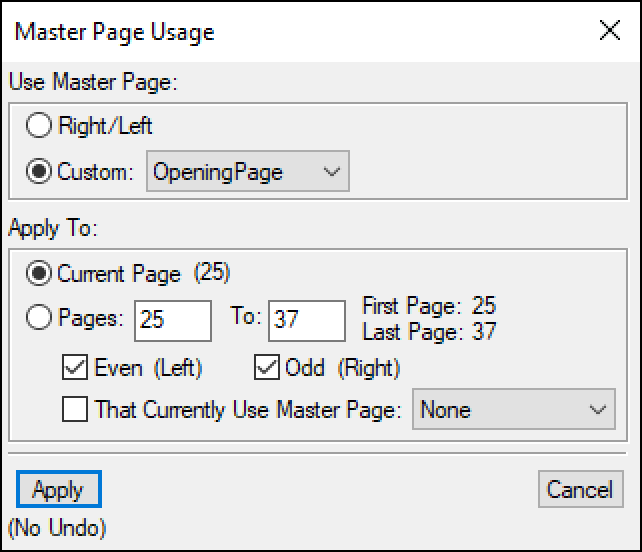
- Apply the new master to the selected page with Format > Page Layout > Master Page Usage.

- Pick your custom master from the drop down list at the top, and the page range from the bottom, and pick Apply.
There you go. You are allowed 100 master pages in a single FrameMaker document, so you can make as many as necessary. I usually create one for the opening page of my chapters, one for the “This page intentionally left blank.” pages, and one each for left and right landscape pages in my portrait documents.
More on working with master pages
Automatically assigning custom master pages
Adobe FrameMaker: Automatically Assigning Custom Master Pages
Master page basics
Using variables in headers and footers
Adobe FrameMaker: When Chapter Titles are Too Long for a Running Head
Rotating pages
Adobe FrameMaker: Adding a Landscape Page to a Portrait Document


Awesome website, Barb! Lots of great information. I shall return again and again. 🙂