Need training at your office? Request a quote for custom training.
Adobe Illustrator: Adding a White Border for Window Clings
by Barb Binder, Adobe Certified Instructor on Illustrator
Window clings and stickers often have a white border added around the outside of the artwork. I encountered this question for the first time in class yesterday and here’s how we solved it.
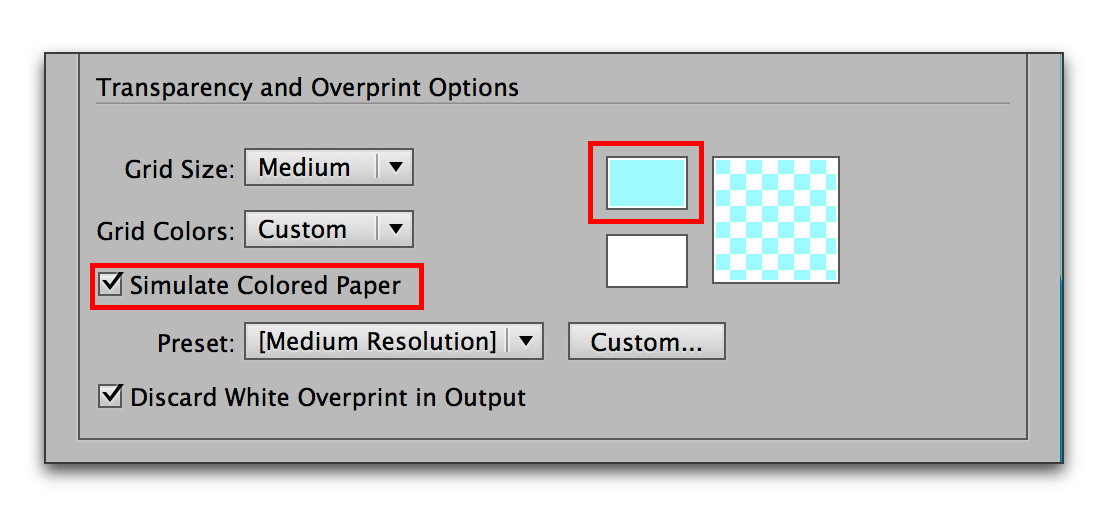
- To make this more visual (because it is hard to see white on white), I changed the artboard to a color to a light blue. In File > Document Setup > Transparency and Overprint Options, I selected a light blue in the top color swatch box and checked Simulate Colored Paper.

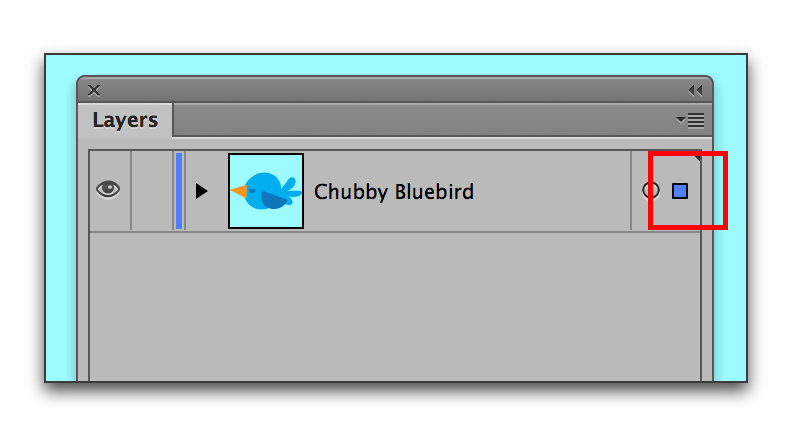
- Start by selecting the final artwork by clicking on the selection box on the far right of the artwork layer.

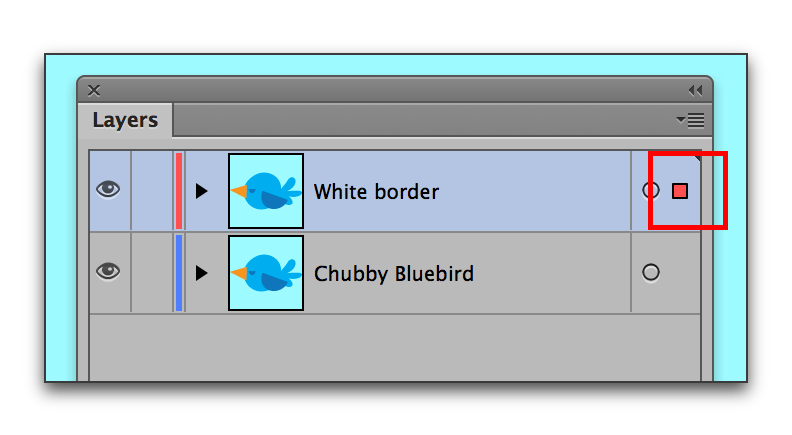
- Copy the artwork, and paste it onto a new layer (I named mine White border). Select the copied artwork on the White border by clicking the selection box.

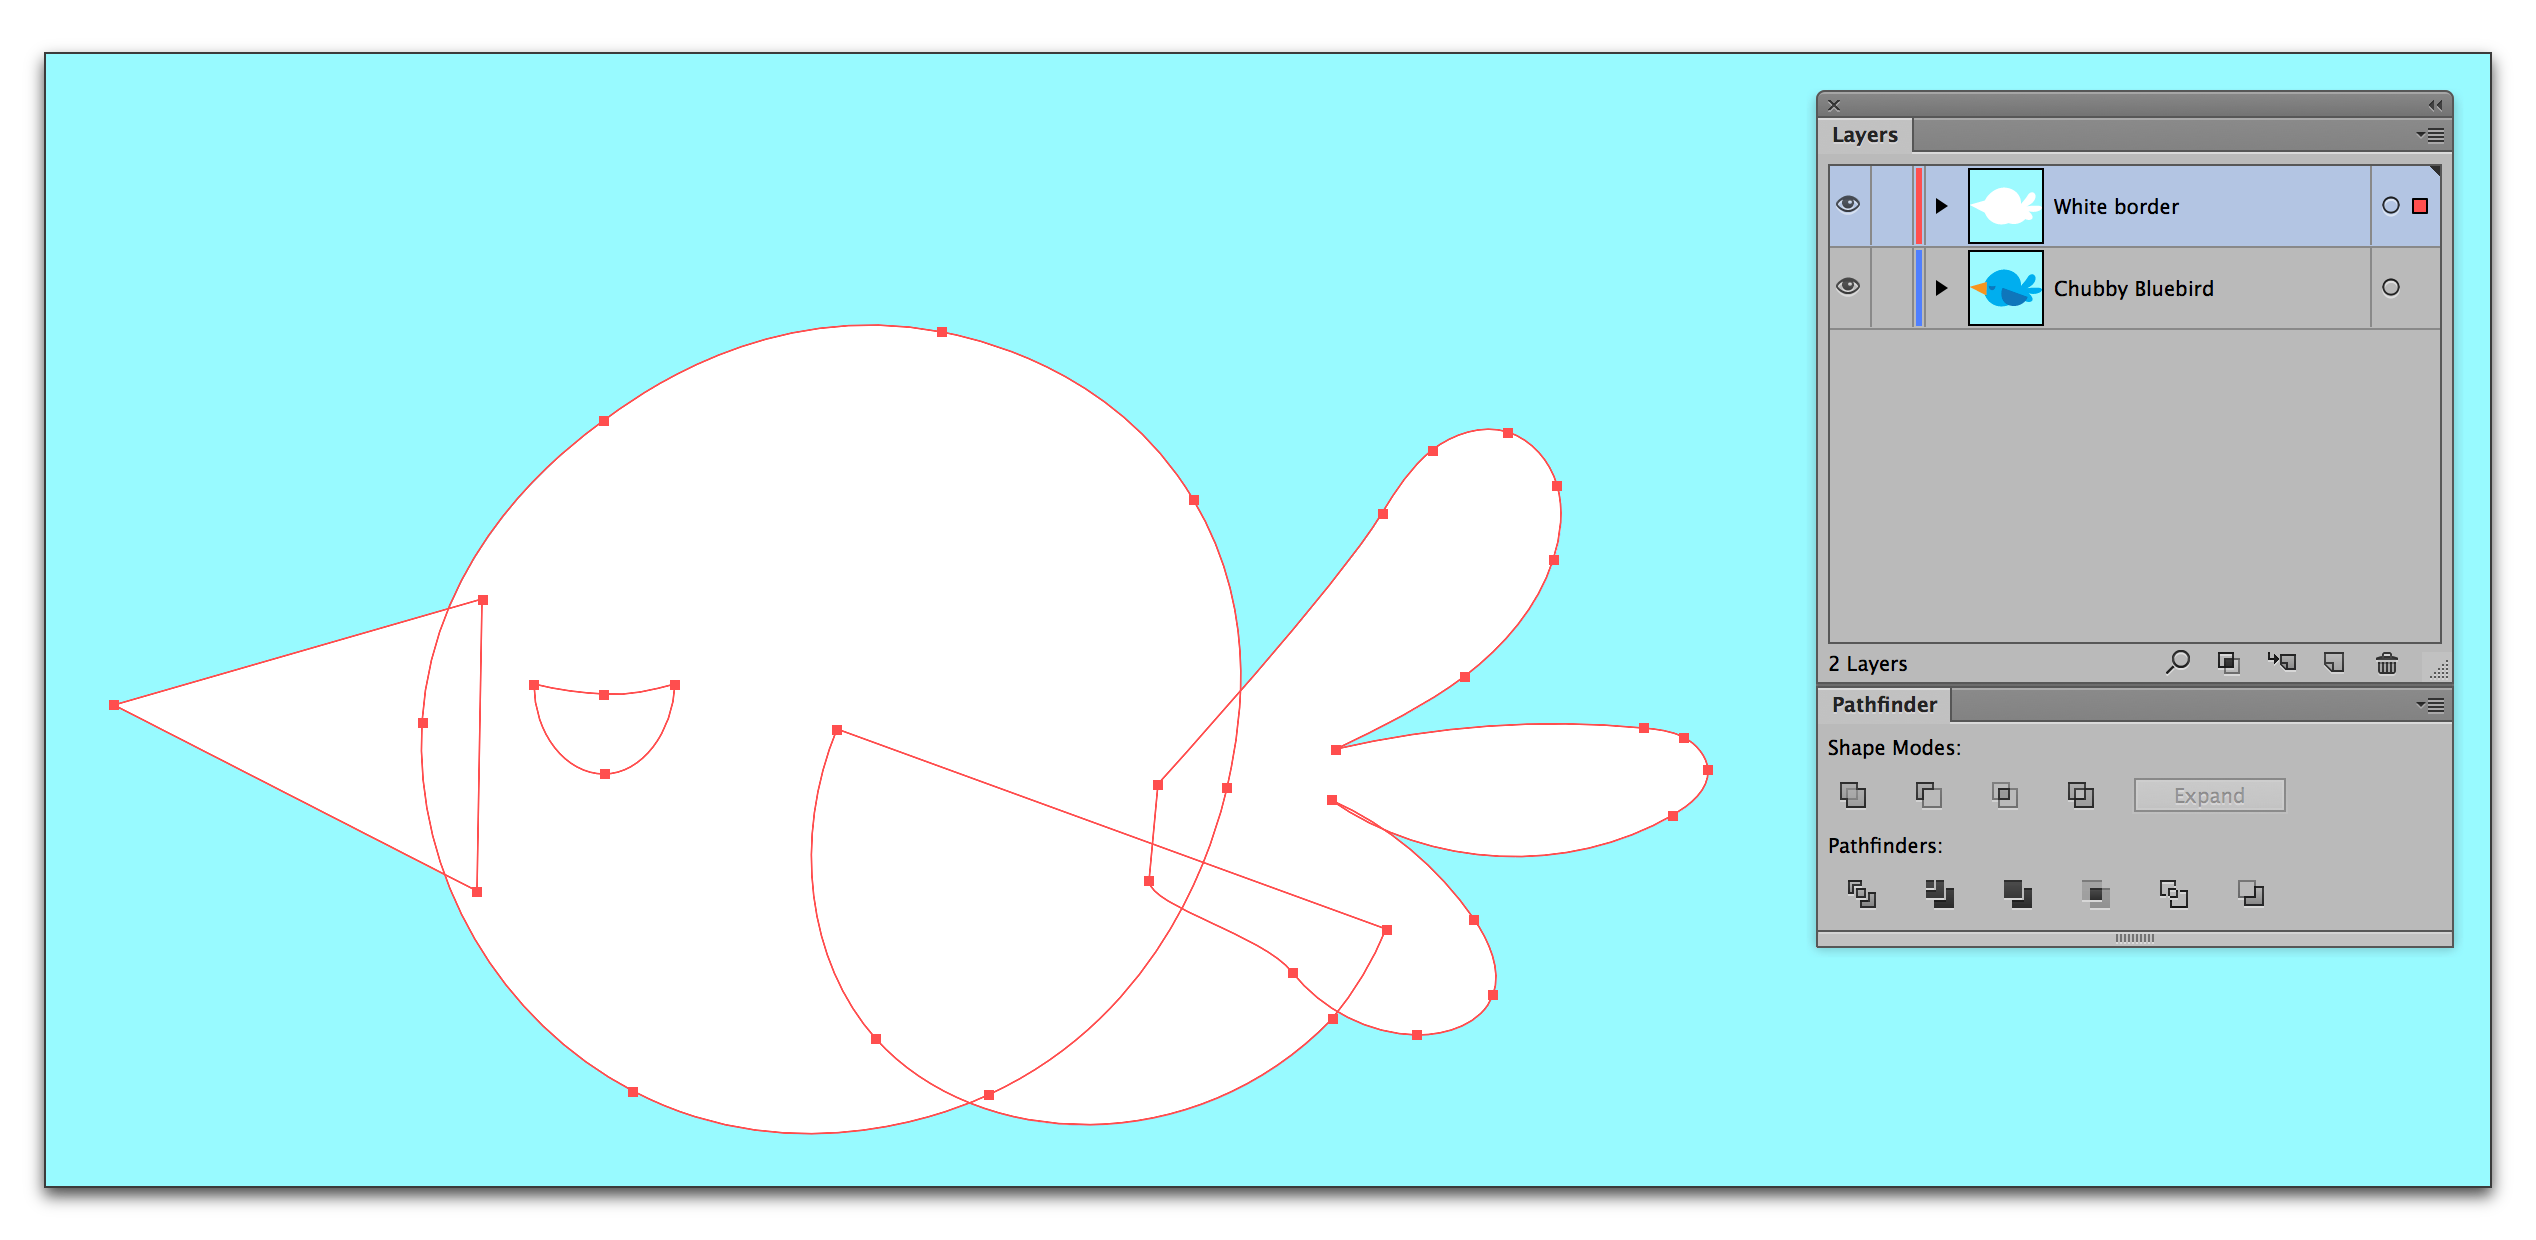
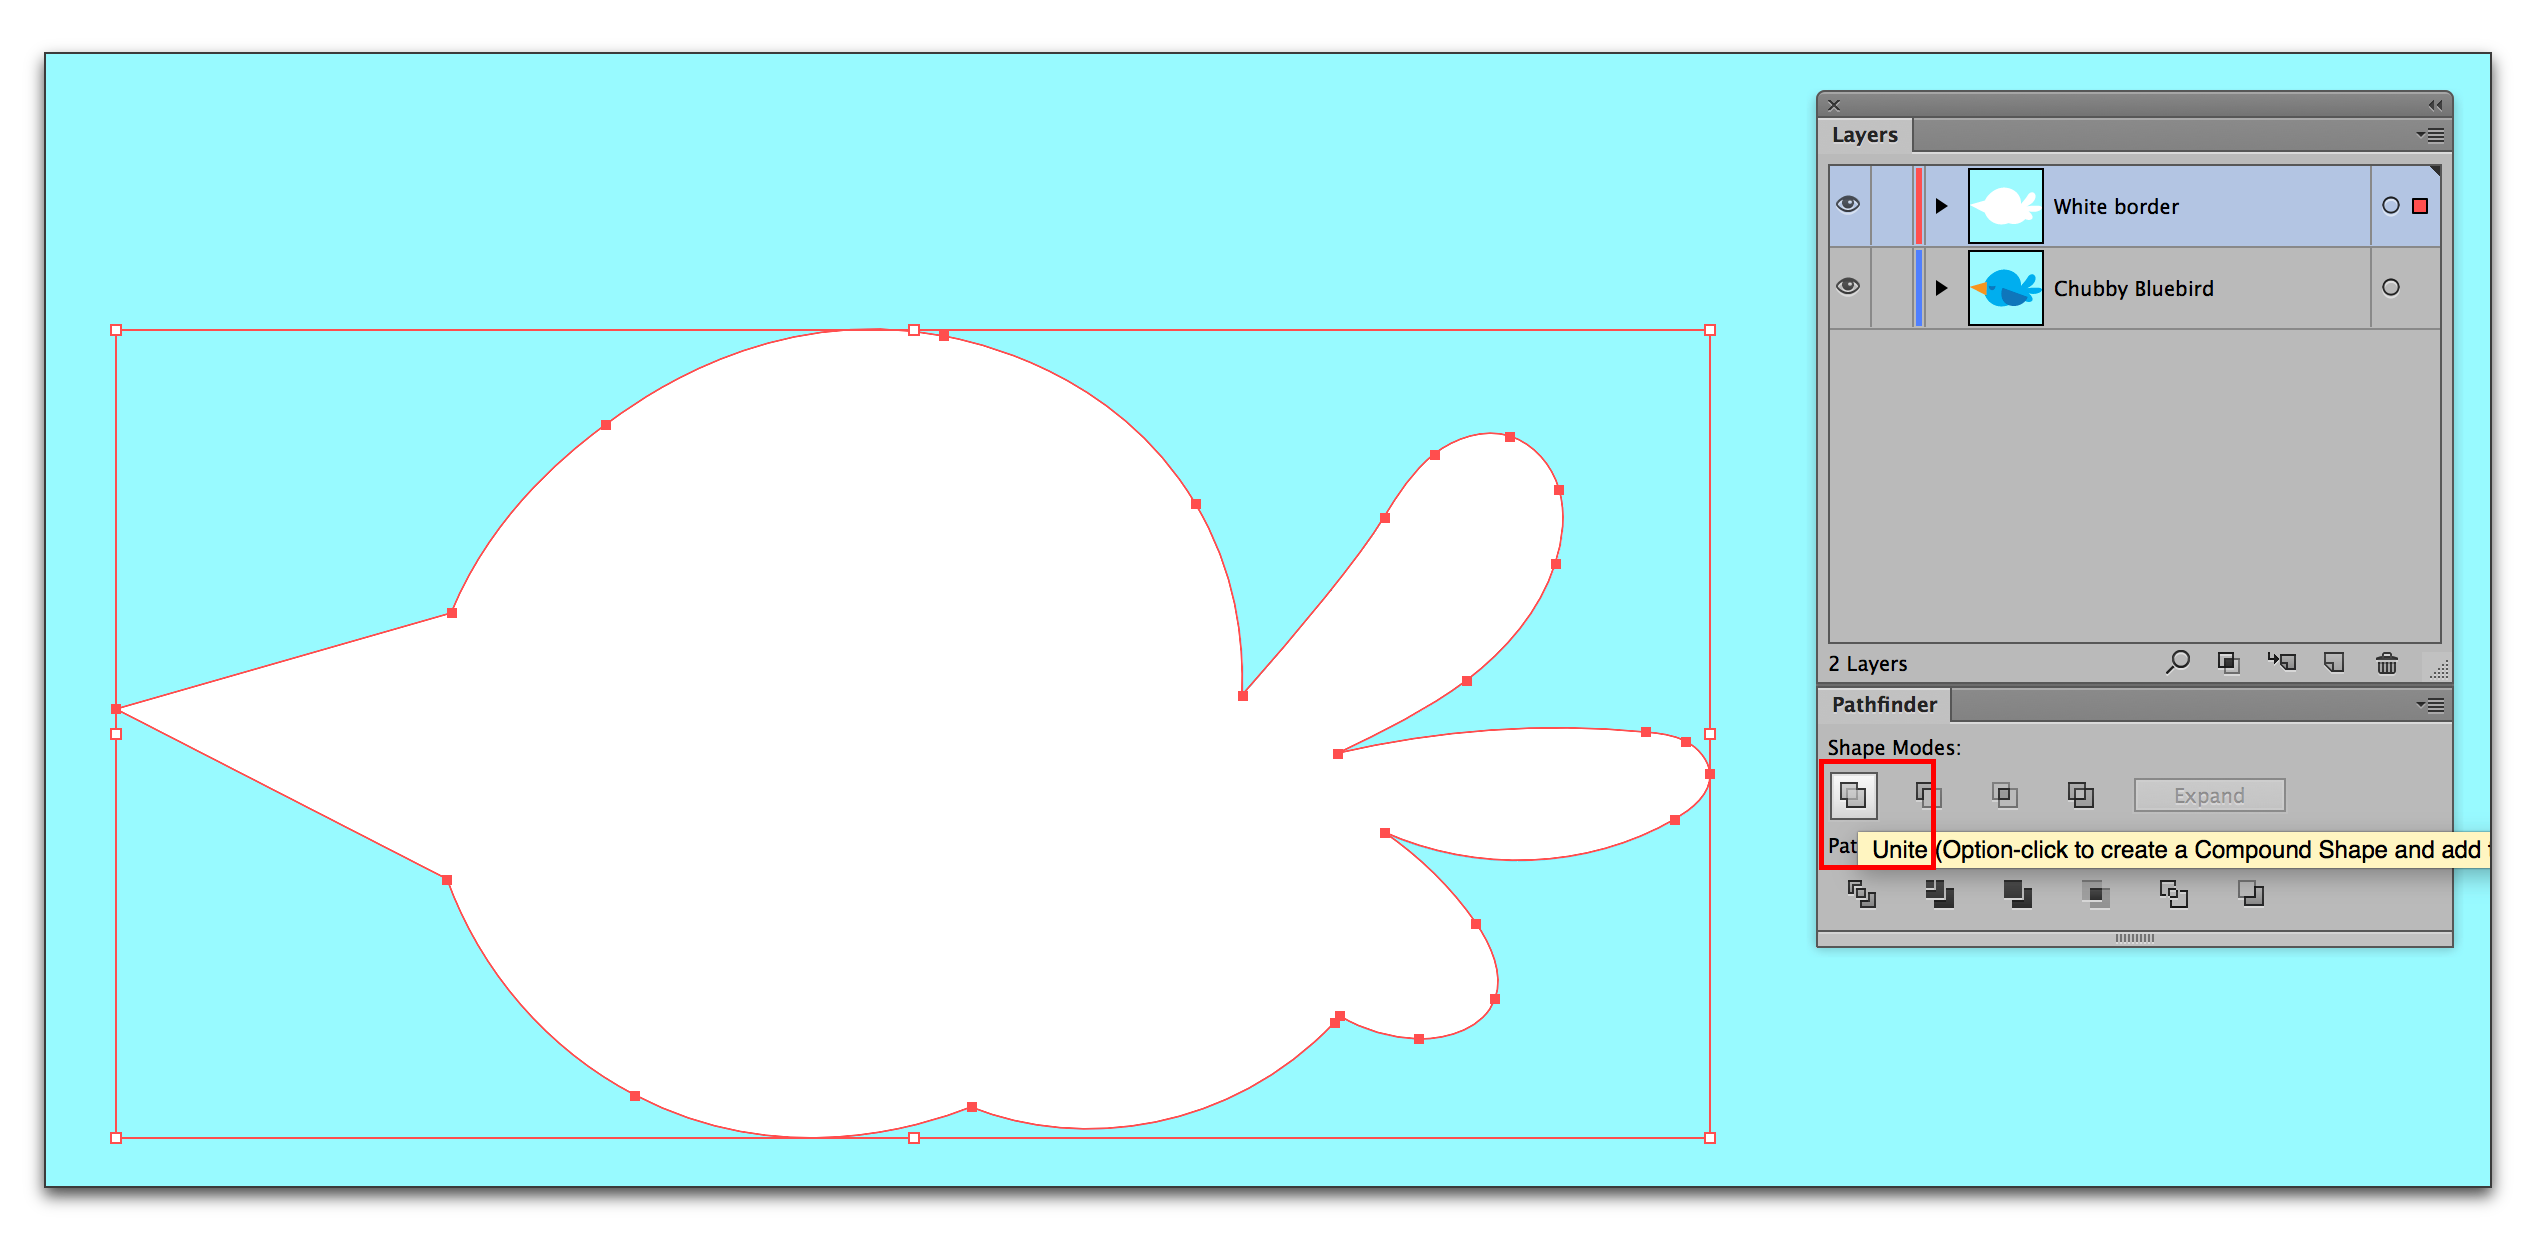
- Fill the artwork with white. Remove stroke, if necessary.

- In Window > Pathfinder, click on Unite to combine all of the individual shapes into one shape.

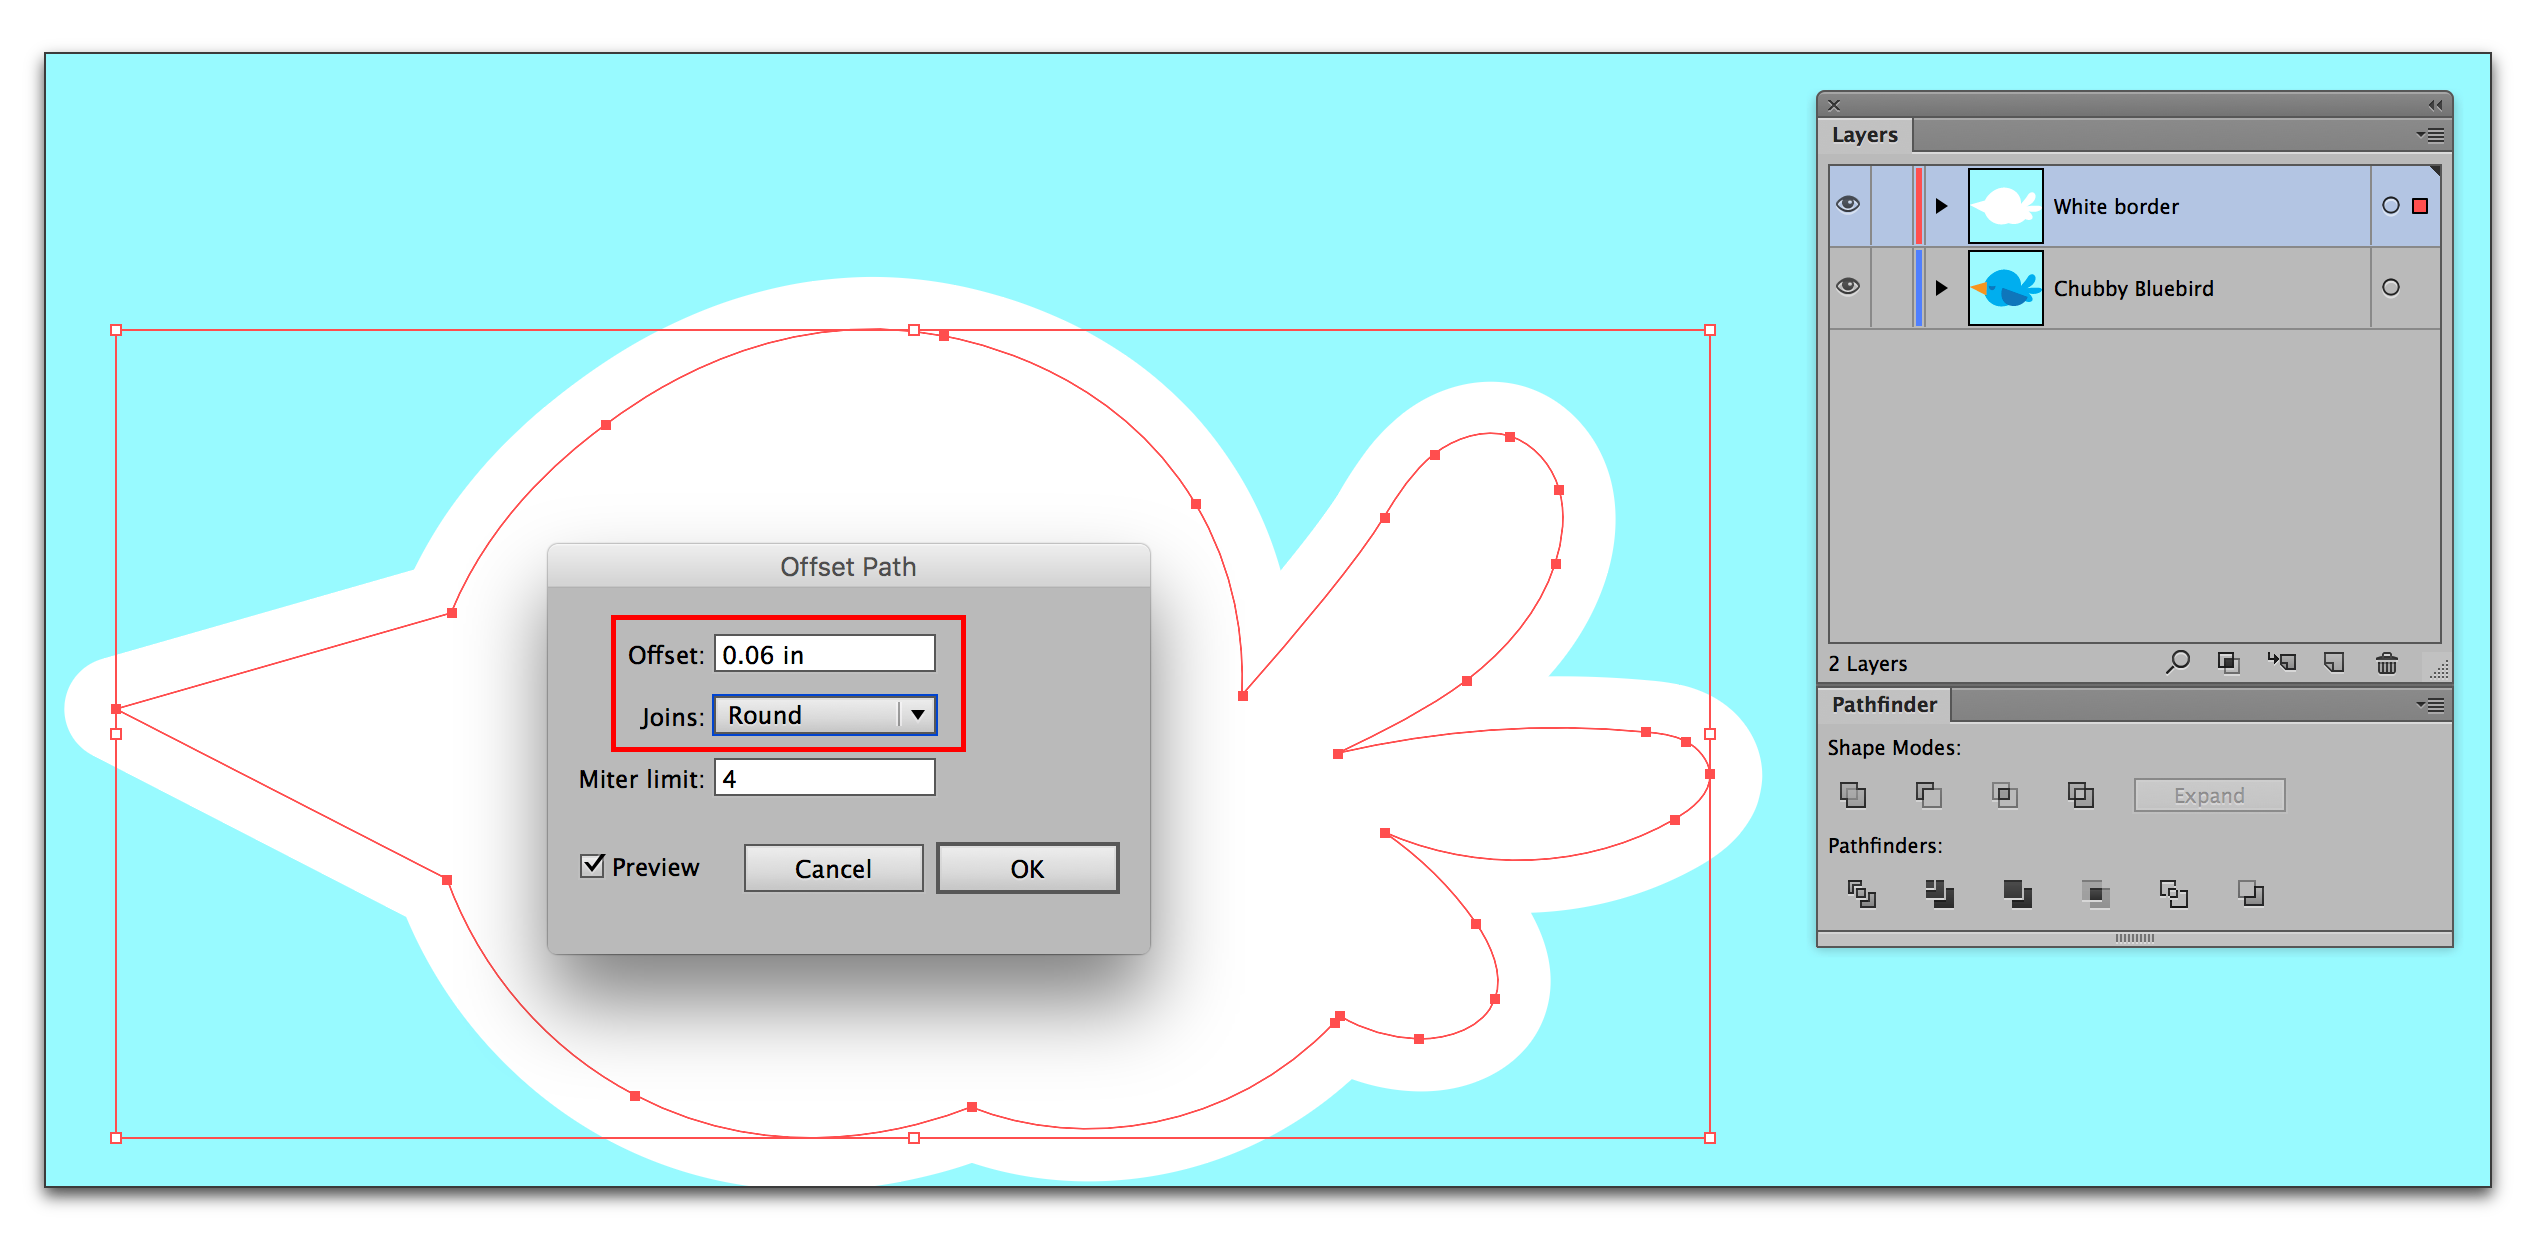
- Extend the path out on all sides by selecting Effect > Path > Offset Path. Turn Preview on so that you can gauge the distance of the offset and how the corners are joined (I picked Round).

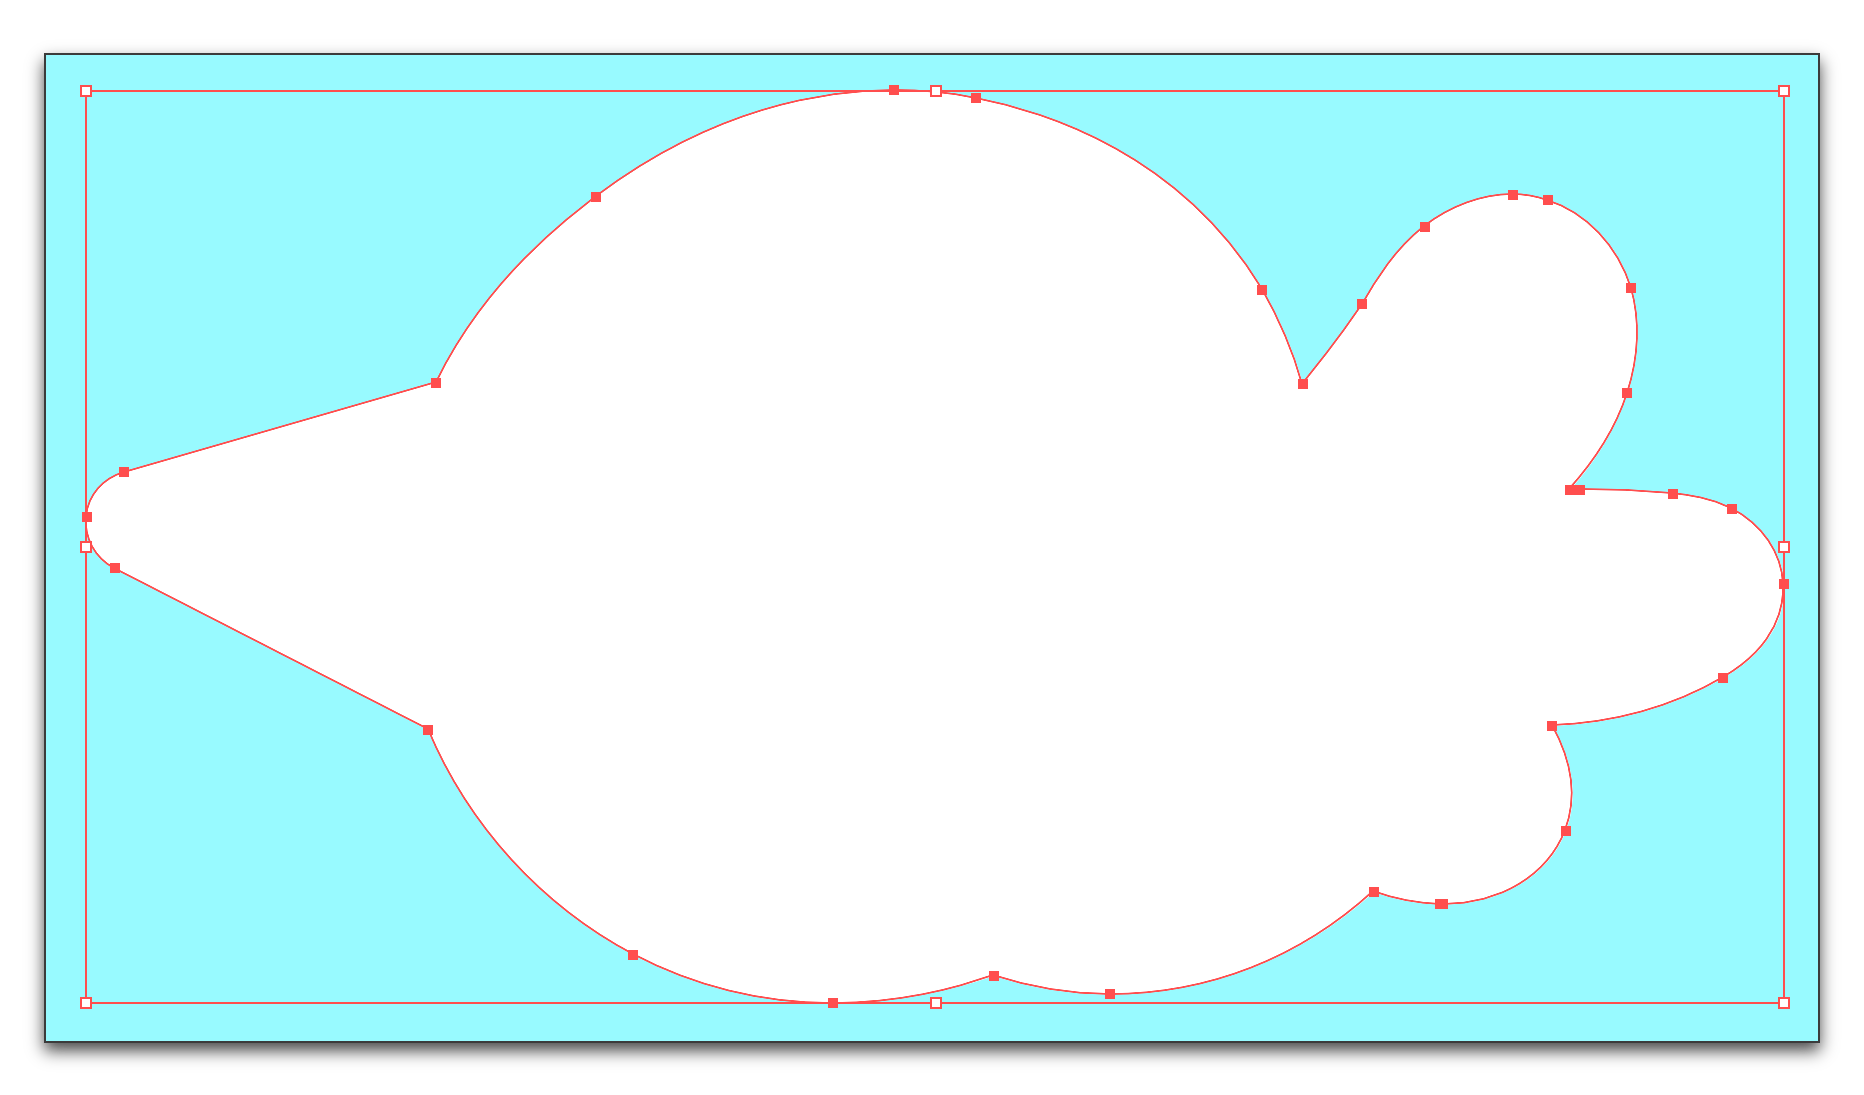
- Select Object > Expand Appearance to convert the Offset Path appearance into vectors.

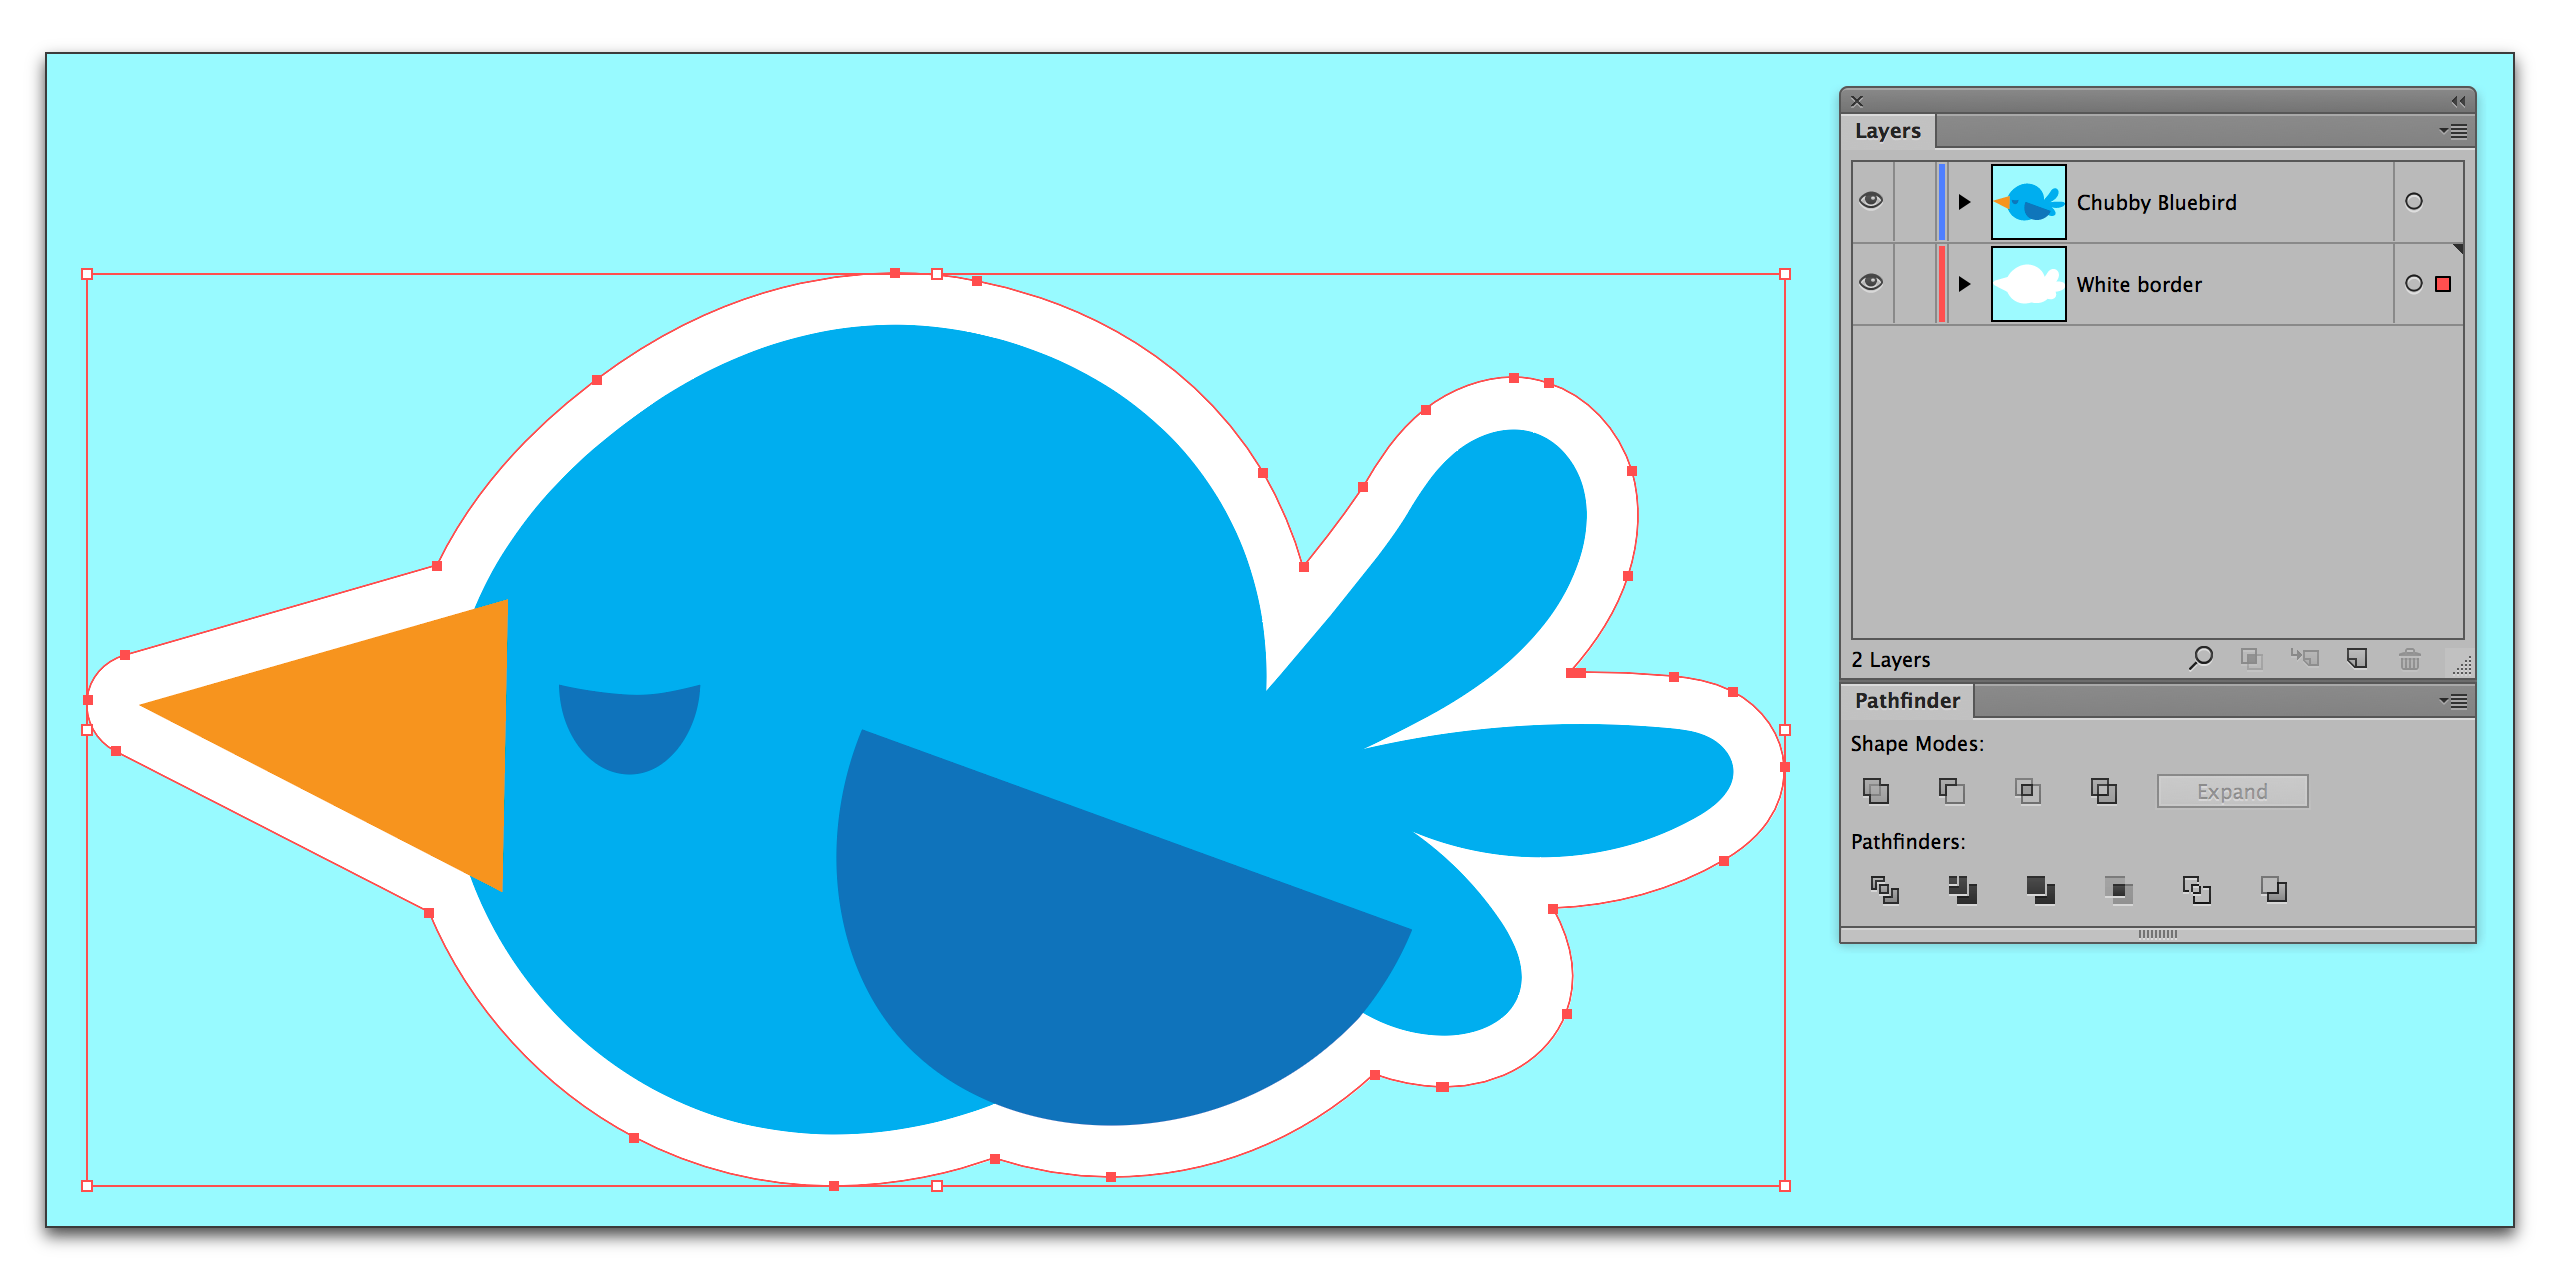
- Reverse the order of the two layers, so that the White border is under the artwork.

Thank You for sharing time with us last week, training the BVSD Print Shop on the use of Illustrator CC. I believe I can speak for the group in saying that your instructing with a twist of humor, made the 2 days a real blast. Thanks too for the revised steps that you included in your e-mail on the steps to create a white foundation layer under the color image for window cling printing.
William (Denny) Pike
Hi Denny! The pleasure was all mine. Watch this blog as the week unfolds: I’ll be posting 3 articles on masking, again with BVSD in mind.
~Barb