Need training at your office? Request a quote for custom training.
Adobe InDesign: Reverse heads
by Barb Binder, Adobe Certified Instructor on InDesign
Updated: May 24, 2020
Adobe InDesign allows us to attach rules either above a paragraph, below a paragraph, or both. This is a very useful feature for setting off headings, and significantly better than grabbing the Line tool and drawing the lines yourself. If you’ve ever done that, you know that you have to be constantly adjusting the line positions manually when you edit the text around them. Here are some examples of Paragraph Rules above, below and both:

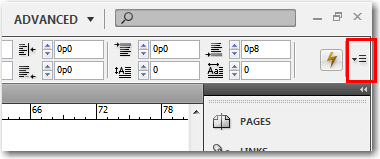
To access the Paragraph Rules dialog box, you will need to click the Control Panel menu, or just type Ctrl+Alt+J (Cmd+Opt+J). For standard rules above and below, the dialog box is pretty easy to figure out. Play for a bit before moving on.
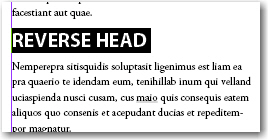
Now, on to Reverse Heads. The easiest way to make a reverse head is to simply define a Ruling Line above the Paragraph and then shift it into position.
- Select a one-line heading.

- Choose Paragraph Rules from the Control Panel Menu.

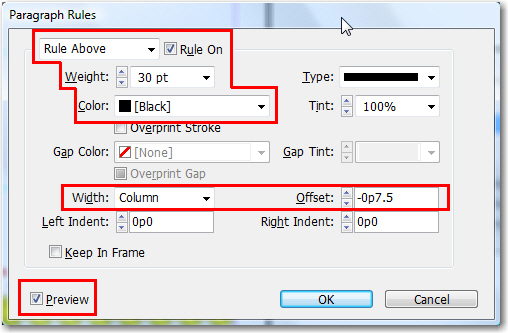
- Turn on the Preview checkbox so that you can see what you are doing to your paragraph.
- In my example, I’m using Myriad Pro 22/26, so I set the specs as follows:

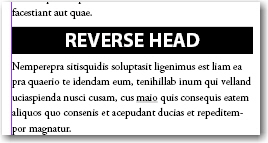
I started by turning the Rule Above On, and then set the weight to a size larger than my typesize. I also changed the color from the default “Same as text color” (or I’d never see the text)! I choose Black, because I will changing the type to Paper in the next step. To center the line vertically over the text, adjust the Offset value. - I like my rule, but I can’t read the text anymore! Before you deselect, make sure you change the fill swatch to [Paper] (and I centered the alignment):

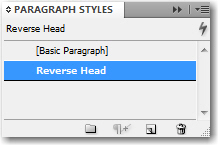
- Definitely take a moment to save this as a Paragraph Style, so that you can use it again and again with one-click access.

If you’ve been a faithful reader of the Adobe InDesign Stroke series, you may have guessed that a custom underline would also do the trick. It would but, underlines are character level formats and you’d have to highlight each head and assign the Character style, and you don’t have the same width controls as you do for Paragraph Rules. For example, a few quick clicks can easily change the width of the Rules, underlines only underline the actual characters. For example:

The first image shows a Column-wide rule, the second shows a Text-wide rule and the third shows a Text-wide rule with -1p0 left and right indents (specified in the Paragraph Rules dialog box.)
Thank you so much for this. I never can remember how to make this work, and your steps make it super easy.
Hi Susan:
I’m glad to hear that this worked for you. Note that since this post was written, there is another way to accomplish this task—Paragraph Shading. It’s also a paragraph style attribute, so once it is set up, you can assign it via a paragraph style.
The difference is that the reverse head assumes that you’ll have one line (or two lines, or three lines) and you define the size appropriately. When you use paragraph shading, the shading will adapt to however many lines the heading needs.
~Barb