Need training at your office? Request a quote for custom training.
Adobe InDesign: Stroke Primer
by Barb Binder, Adobe Certified Instructor on InDesign
Updated: May 24, 2020
NOTE: This post is meant to provide a brief overview of the Stroke panel. The information that follows provides the foundation for our posts on creating new stroke styles, customizing underlines, highlighting text, reverse heads and combining paragraph rules and underlines.
You can apply strokes, or line settings, to paths, shapes, text frames, and text outlines. You have control over the weight and appearance of the stroke, including the start and end shapes, and options for corners.
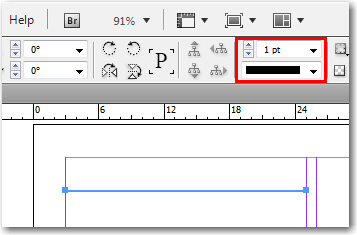
The simplest controls live in the Control Panel. You can use the Stroke weight menu to make a stroke weight thicker or thinner.
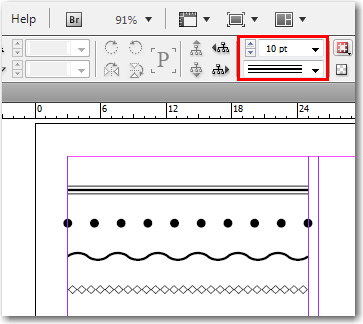
In addition, you can make selections from the Stroke Type menu to apply Oxford Rules (various combinations of thick and thin rules), along with some of the more fun options, like the Dotted, Wavy and White Diamond patterns.
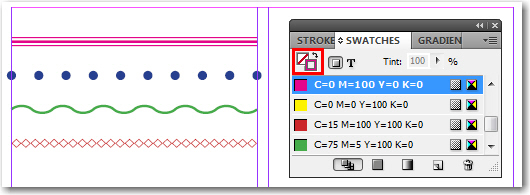
You can change the Stroke color by clicking the Stroke button in the Swatches panel, and then choosing a favorite color.
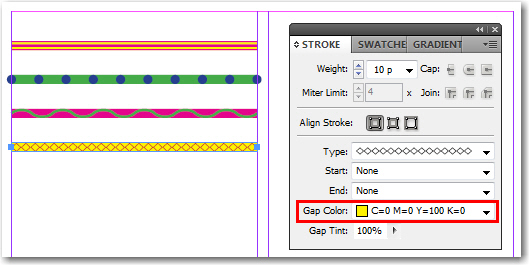
If you need something beyond these basics, you’ll need to open the Stroke panel (Window > Stroke). You’ll find additional stoke options here, including end cap controls and the Gap Color. Here’s a quick look at both of those:
- We have three end Cap options: Butt Cap, Rounded Cap & Projecting Cap. The Butt Cap (the pink line below) creates squared ends that abut (stop at) the endpoints; the Round Cap (the green line below) creates semicircular ends that extend half the stroke width beyond the endpoints; and the Projecting Cap (the blue line below) creates squared ends that extend half the stroke width beyond the endpoints. (This last option makes the stroke weight extend evenly in all directions around the path.)

- The Gap Color controls the alternate color on the patterned strokes.

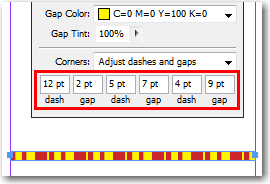
One more thing on Stroke basics. If you take one more look at the Stroke panel, you’ll notice that the last option listed is the Gap Tint. If you choose the very last dashed line in the Stroke Type list, this changes! The panel expands and provides six text boxes that you can use to create up to three pairs of dash/gap pairs.

2 thoughts on “Adobe InDesign: Stroke Primer”