Need training at your office? Request a quote for custom training.
Adobe Photoshop: Fill Opacity
By Barb Binder
Are you getting great photos out of Photoshop, but your type looks flat and boring? Here’s a quick technique that looks difficult to create, but isn’t.
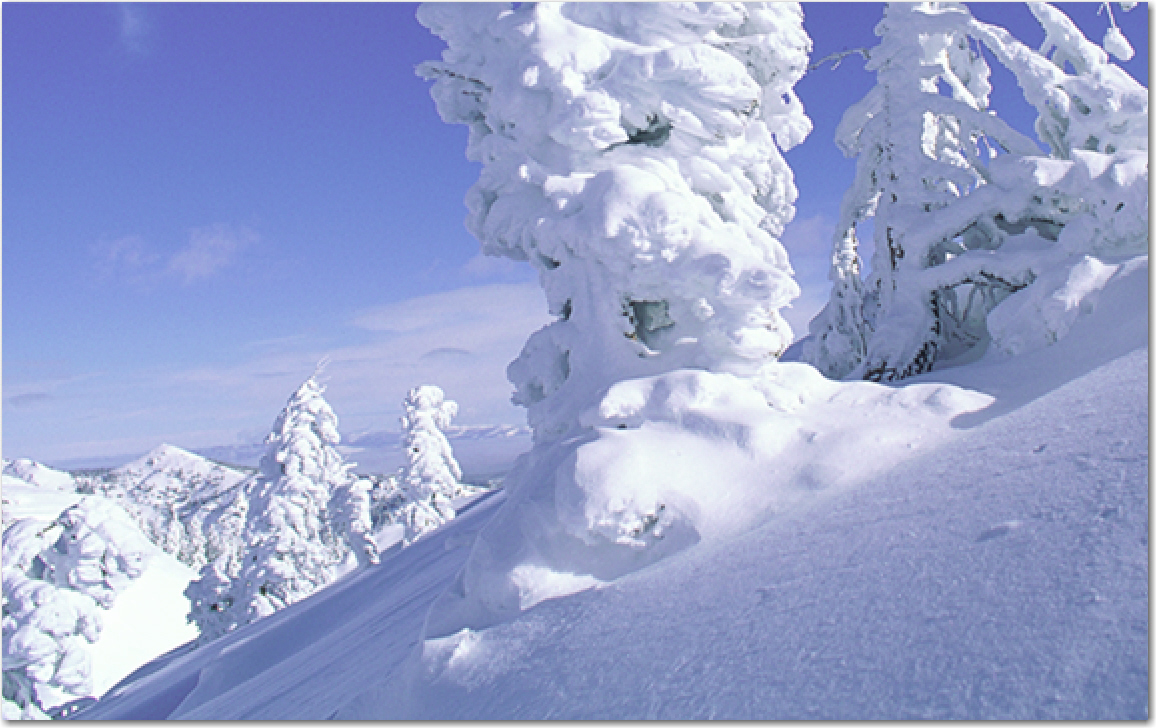
- Open a favorite photo.

- Grab the Type tool, pick a contrasting color and click on the page to add a caption over your photo.

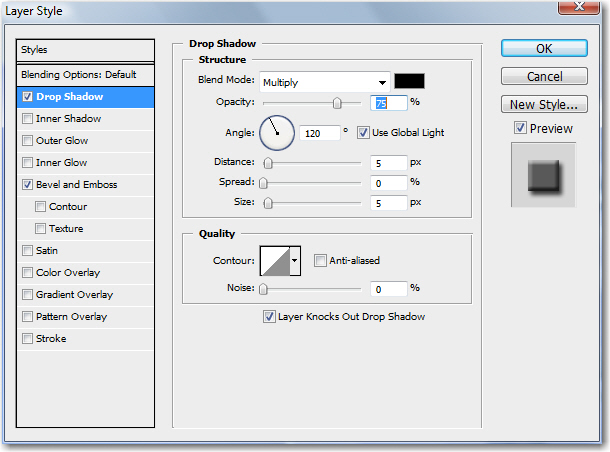
- With your new Type Layer selected, choose Layer > Layer Style > Drop Shadow, and while you are still in the dialog box, click on the check mark for Bevel and Emboss before choosing OK.

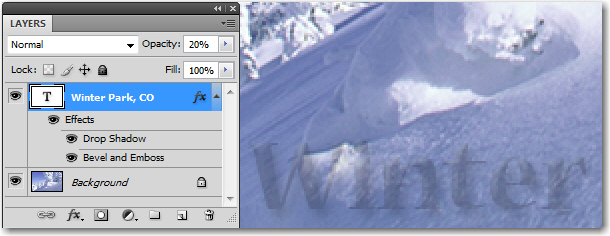
- Try reducing the Layer Opacity to 20% (that’s the slider in the top right corner of the Layers panel). Are you changing the Fill Color of your type, or the Drop Shadow and Bevel Emboss Layer Styles, or both?

- If you said “both”, you are correct. Drag the Layer Opacity Slider back to 100%.
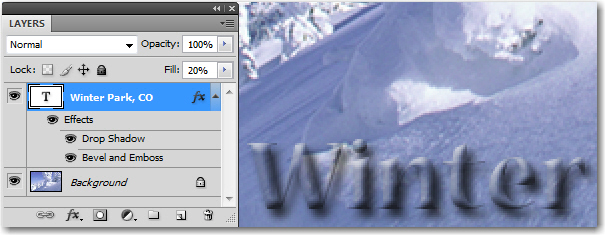
- Now, try the same thing with the the Fill Opacity slider (that’s the slider in the under the Opacity slider in the top right corner of the Layers panel). Can you see how you are reducing the fill color of your type, but not the impact of the Layer Styles?

- Drag Fill Opacity all the way to 0%. What a quick and easy way to define type that accentuates your background image! You can even move the type around with the Move tool, and decide where it looks best.

By the way, it seems to me that just about all of my advanced Photoshop students walk in the door understanding what the opacity slider does, but only a handful of them—and I’ve been delivering Photoshop training since v 2.5—can tell me what the fill opacity slider does before we talk about it. By keystroking your way through this tutorial, you are now ahead of the curve.


Thanks for the tip Barb. I am an instructor at a school in Washington, DC and there seems to be no end to Photoshop techniques.