Need training at your office? Request a quote for custom training.
Adobe Photoshop: Get Rid of the Dust!
By Michael Meyer, Professional Photographer & Former Photoshop Student
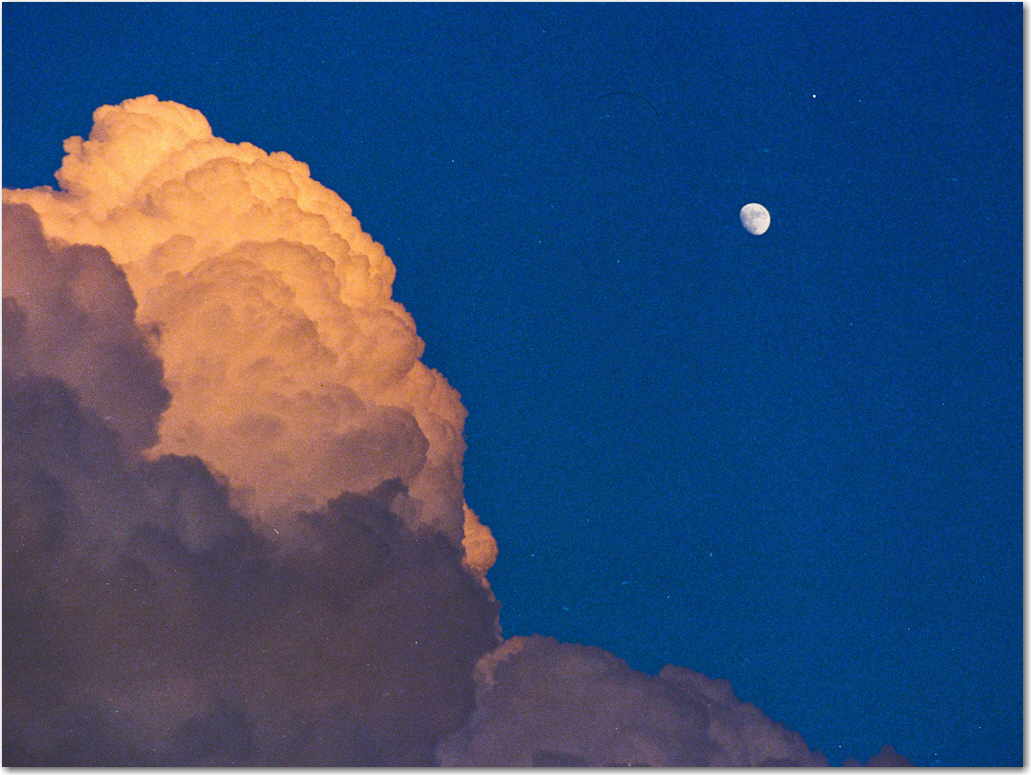
Ah, dust, the bane of negatives and slides. How do you get rid of all the dust on an image after scanning one of your favorite old negatives, slides or prints? The “Dust and Scratches” filter can be very helpful, but I have great a little trick that I use every time I access this filter.
Take a look at the image of the clouds and moon: you’ll notice that there is quite a bit of dust in the image. Let’s start with the traditional use of the Dust & Scratches filter:
- Open up an image of your own with dust or scratches.

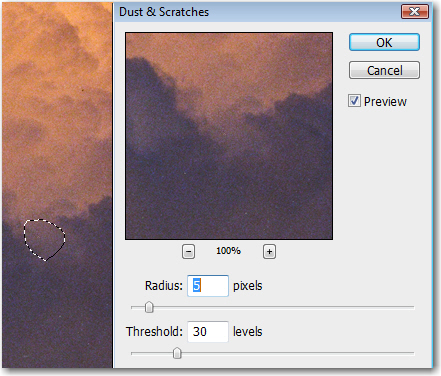
- Choose Filter > Noise > Dust & Scratches

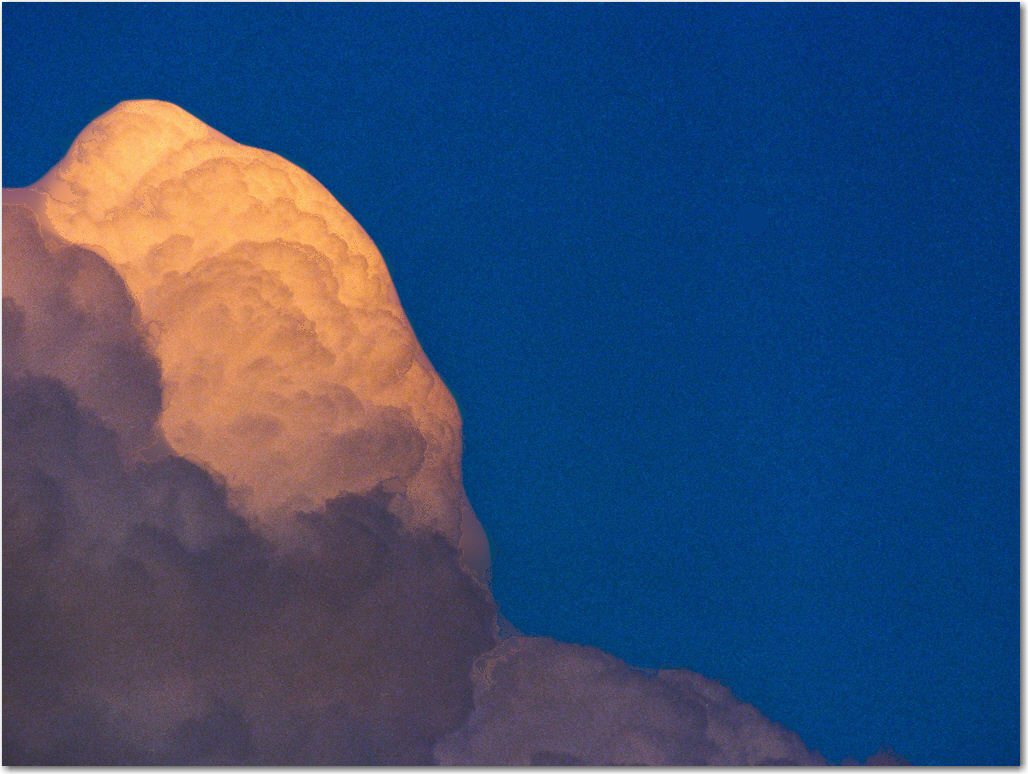
- Adjust the sliders for Radius and Threshold until the dust is gone. Good, except that by the time the dust is all gone, I’m betting that there are other areas in the image that are either gone (like the moon) or very soft now (like the new cloud edges).

- Let’s click Cancel and try this again.
On a small or low resolution image, the filter probably runs quickly. If you are trying to clean up a large, high resolution file (think 40, 50 megabytes, or more) the image will take a lot longer to process. So, how do you make it run a lot faster and not affect the entire image in a negative way? (Get it? Negative?)
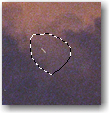
What I like to do is use the Lasso tool to make a quick selection around a dusty section of the image.and then open the filter again. Adjust the sliders until the dust is gone but you can still see the grain or noise, as it’s now called, in the image. For the moon and clouds image, I’m using Radius=5 and Threshold=30. You don’t want to take it too far: if the grain disappears you’ll be able to tell where the selection was. When you are satisfied, click OK.


Next, quickly draw another selection around some more dust and don’t worry if your selections look like a three year old did it. Mine always do. Now, here’s the quick part of this trick. Don’t go back up to the Filter menu, simply press “Control + F” and Photoshop will automatically apply the last filter used with the same settings.
By the way, those settings will change for almost every image you work on unless they are similar in grain structure and pixel dimension, so you will have to experiment a little. Hot Tip…Always be wary with recipes or formulas in Photoshop. They are usually only a good starting point. There are too many variables for settings to always work on every image.
Continue making selections until you have gone over the entire image. It can be a bit painful to go over the image this way, but the results will be better than doing the entire image at once. Also, you might only have a small section with dust to do and a couple selections will finish the job for you.
Good luck, and keep pushing those pixels.


