Need training at your office? Request a quote for custom training.
Adobe Photoshop: How Photoshop Indicates a Selection
by Barb Binder, Adobe Certified Instructor on Photoshop
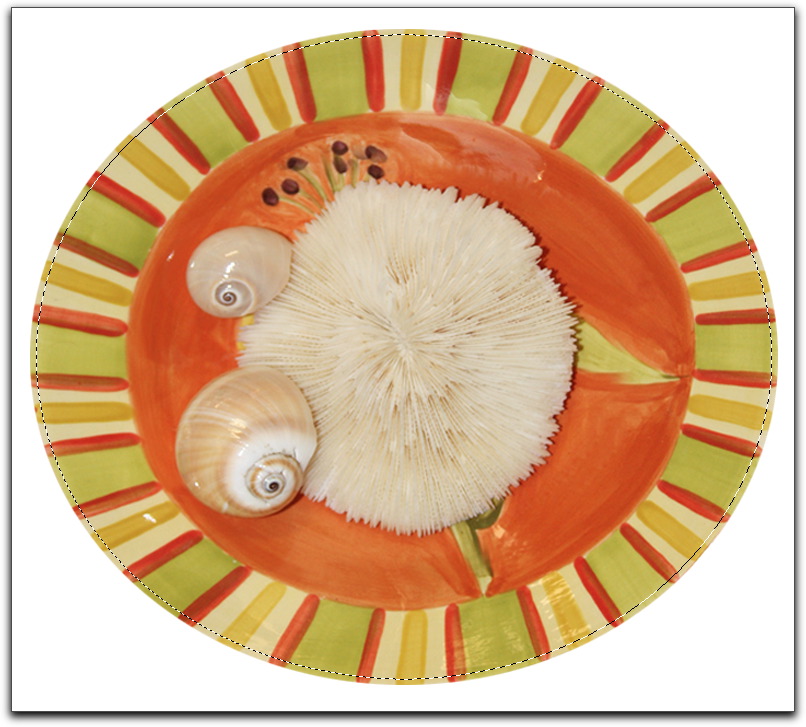
Selections in Photoshop. Can’t live with them. Can’t live without them. As an instructor, they represent the single most important feature in Photoshop to effectively communicate to my students in my Introduction to Adobe Photoshop class, because if they a.) can’t make a good selection, and b.) understand how Photoshop is trying to indicate what is selected, they will be unable to make targeted corrections. This post is focused on how to determine exactly what is selected.
Three Ways to View a Selection
We have three ways of viewing our selections in Photoshop: marching ants, quick masks, and channels/masks. They are all trying to communicate the exact same information, although some do it better than others. Here’s how I see it:
| Area is selected | Area is partially selected | Area is deselected (aka protected from change) |
|
|---|---|---|---|
| Standard Mode | Marching ants | Can’t tell | No ants |
| Quick Mask Mode | Transparent | Pink | Red |
| Mask/Channel Mode | White | Grey | Black |
Selected or Not Selected
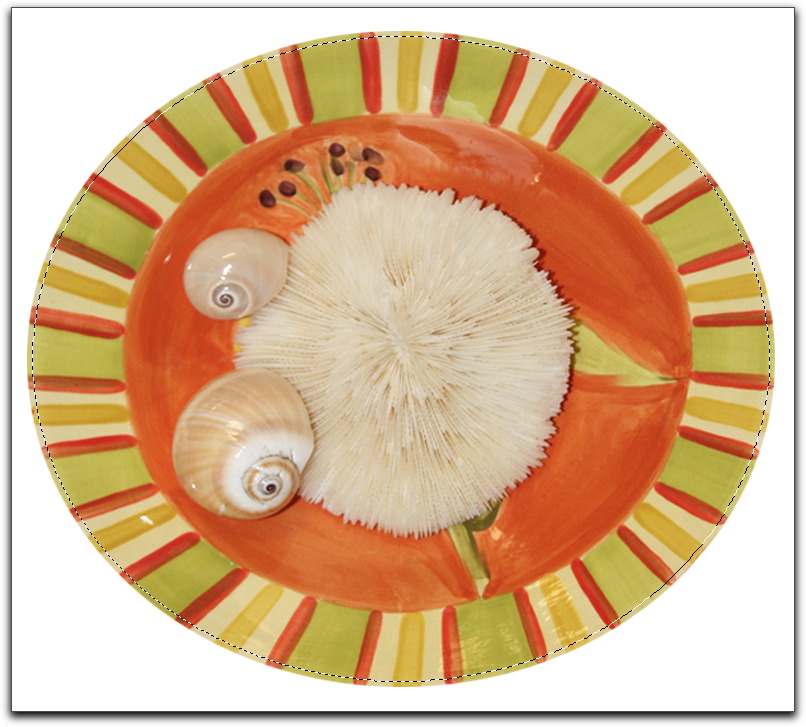
Let’s begin by working through the concept of selected vs. not selected. Take the bowl shown below as an example. Everything inside the marching ants (the grey and white dotted line border) is selected, everything outside is not.
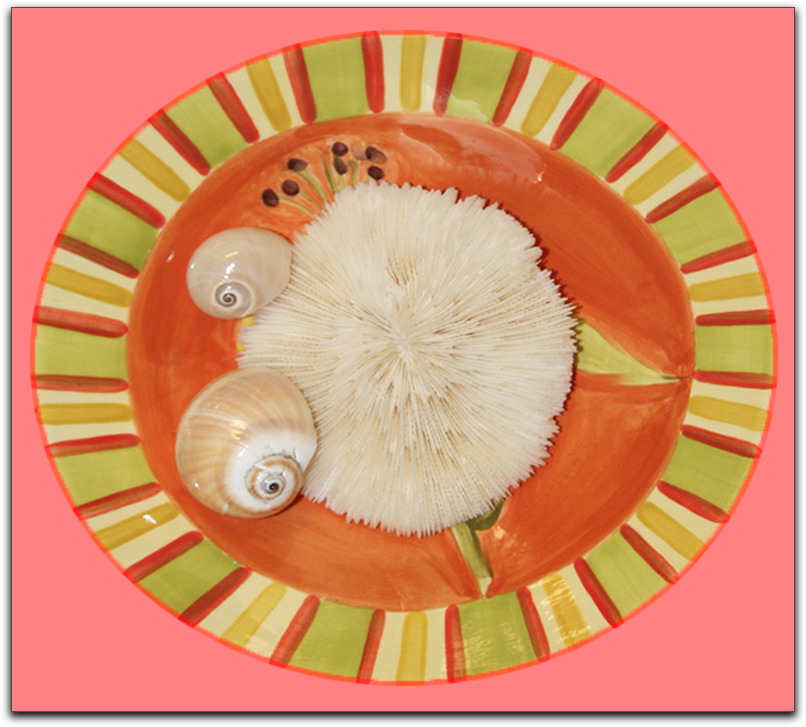
When you switch to Quick Mask mode (just tap the letter Q to switch to Quick Mask mode, and Q to return to Standard mode), you are seeing the exact same information using a very different method of communication. There is a red overlay protecting the unselected areas. There is no change to the selected area.
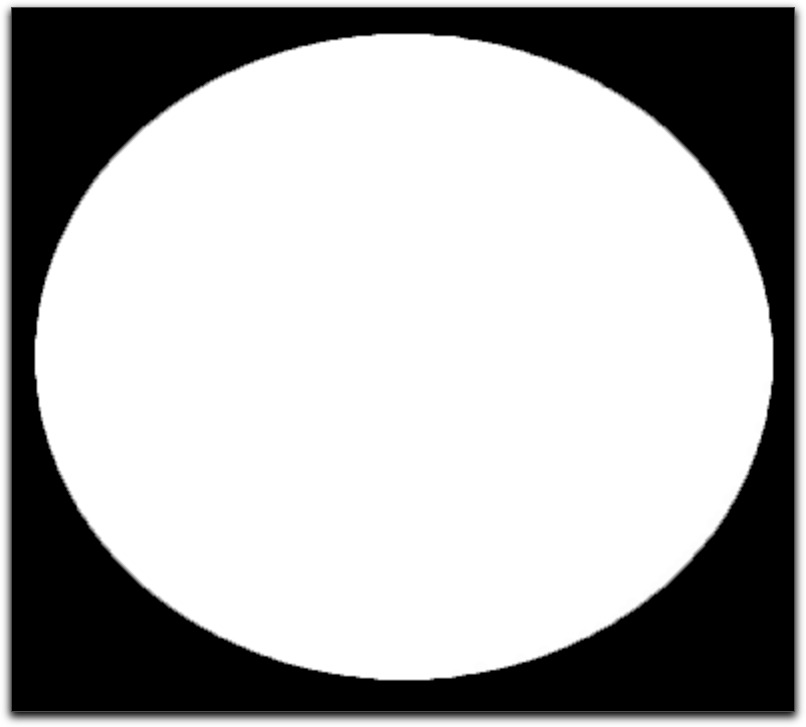
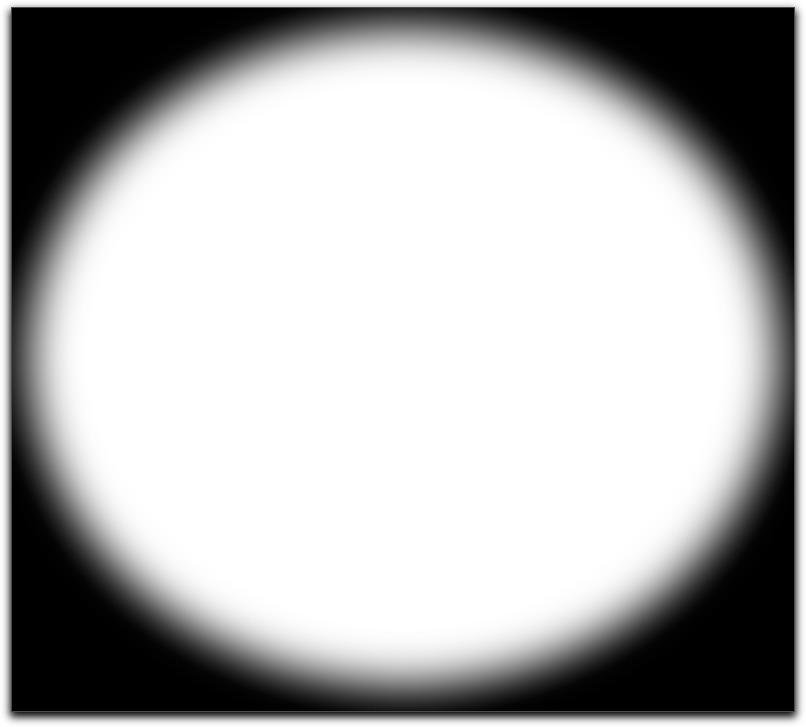
If you save a selection, or use any of the numerous dialog boxes that show you a mask/channel view of your selection, the communication method changes one more time: now we have white to indicate what is selected and black to indicate what is unselected, or protected from change.
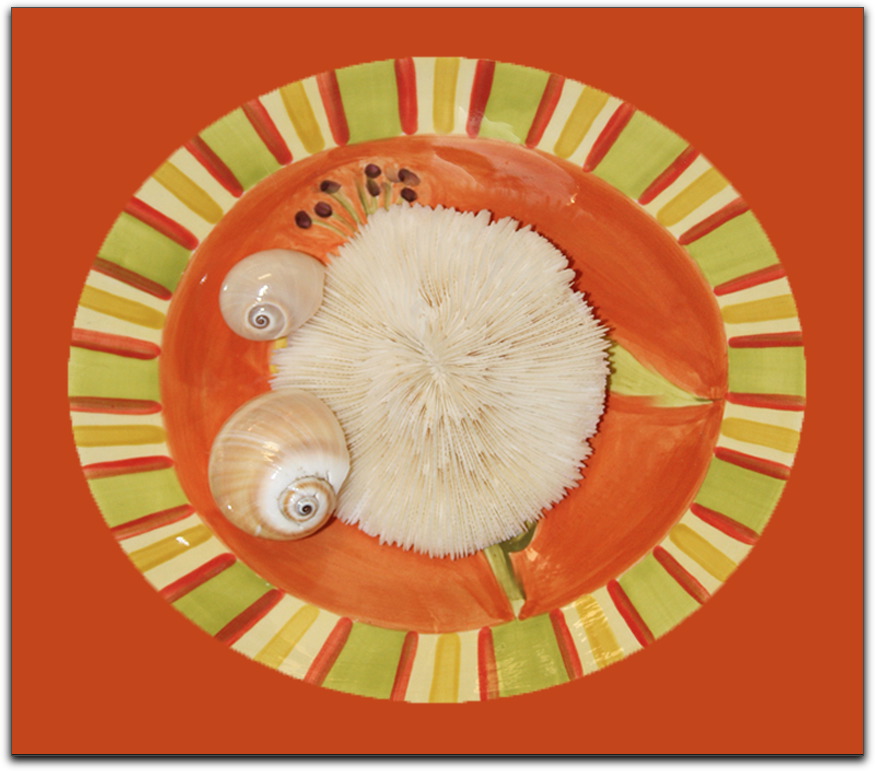
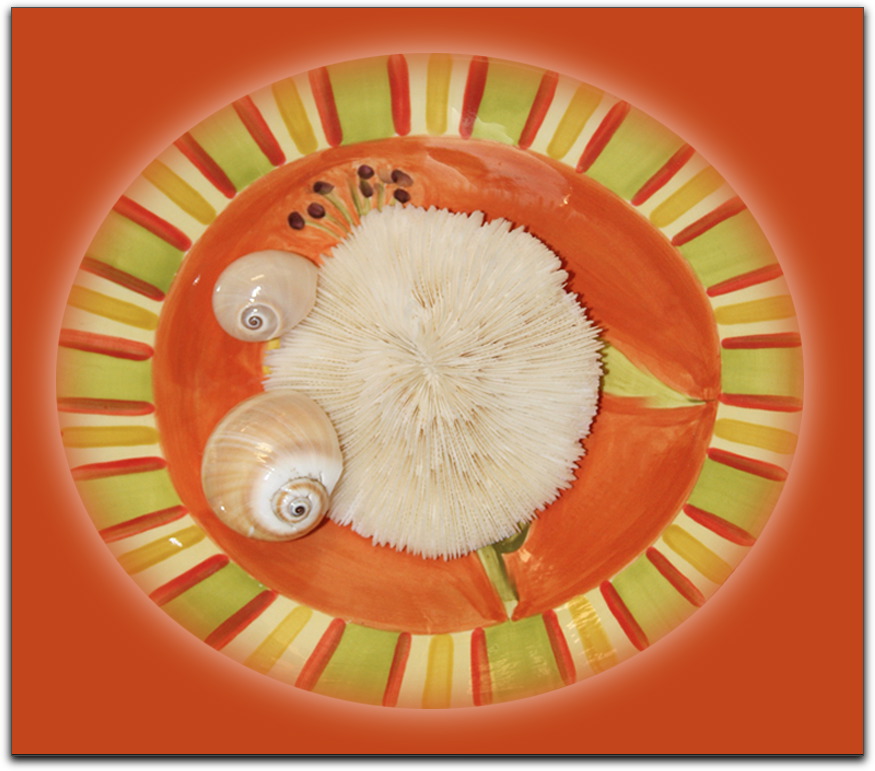
Let’s say that the reason we selected the bowl in the first place was to copy it so that we could paste it against an orange background. The result is shown below. Examine the edge transition from bowl to orange background.
Partial Selection
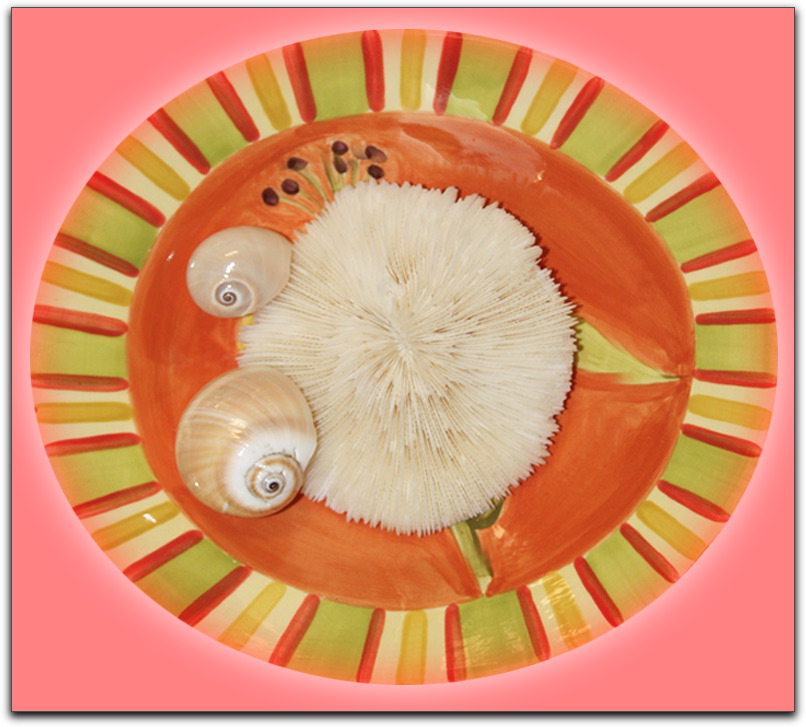
Now let’s address the concept of a partial selection. A partial selection simply means an area isn’t completely selected. When you feather a selection, you create blending along the edges for a softer transition. Here’s an important concept, in Standard mode (marching ants), Photoshop is not able to effectively communicate a soft edge to you. Here’s the original selection after applying a 20 px feather (Select > Modify > Feather). It looks just like the original, unfeathered selection in the very first image.
Now take a look at it in Quick Mask mode (Tap Q to enter Quick Mask mode and Q to exit). Are you starting to see the soft transition from the bowl to the white background?
Finally, let’s examine the selection in the channel/mask view. This is best view to see a soft edge: white is selected, black is deselected (protected). The grey along the edge indicates the partial selection, were I turned on the 20 px feather.
When you copy this feathered selection and paste it into a document with an orange background you end up with a soft transition from the bowl (along with it’s original white background) to the new orange background.
New Photoshop users tend to rely on the marching ants to view selection edges. We’ve just learned that they are not as detailed as you might need. As an advanced Photoshop user, I use marching ants for an overview of what I’ve selected. I use Quick Mask as a way to refine a selection, and I use the mask/channel view for everything else. Once you master how to read a mask, you will eliminate the surprises that come with relying on the marching ants view.
Thanks, i needed an alt for Marching Ants, because they don’t display on Vista and Adobe doesn’t have a fix for it.